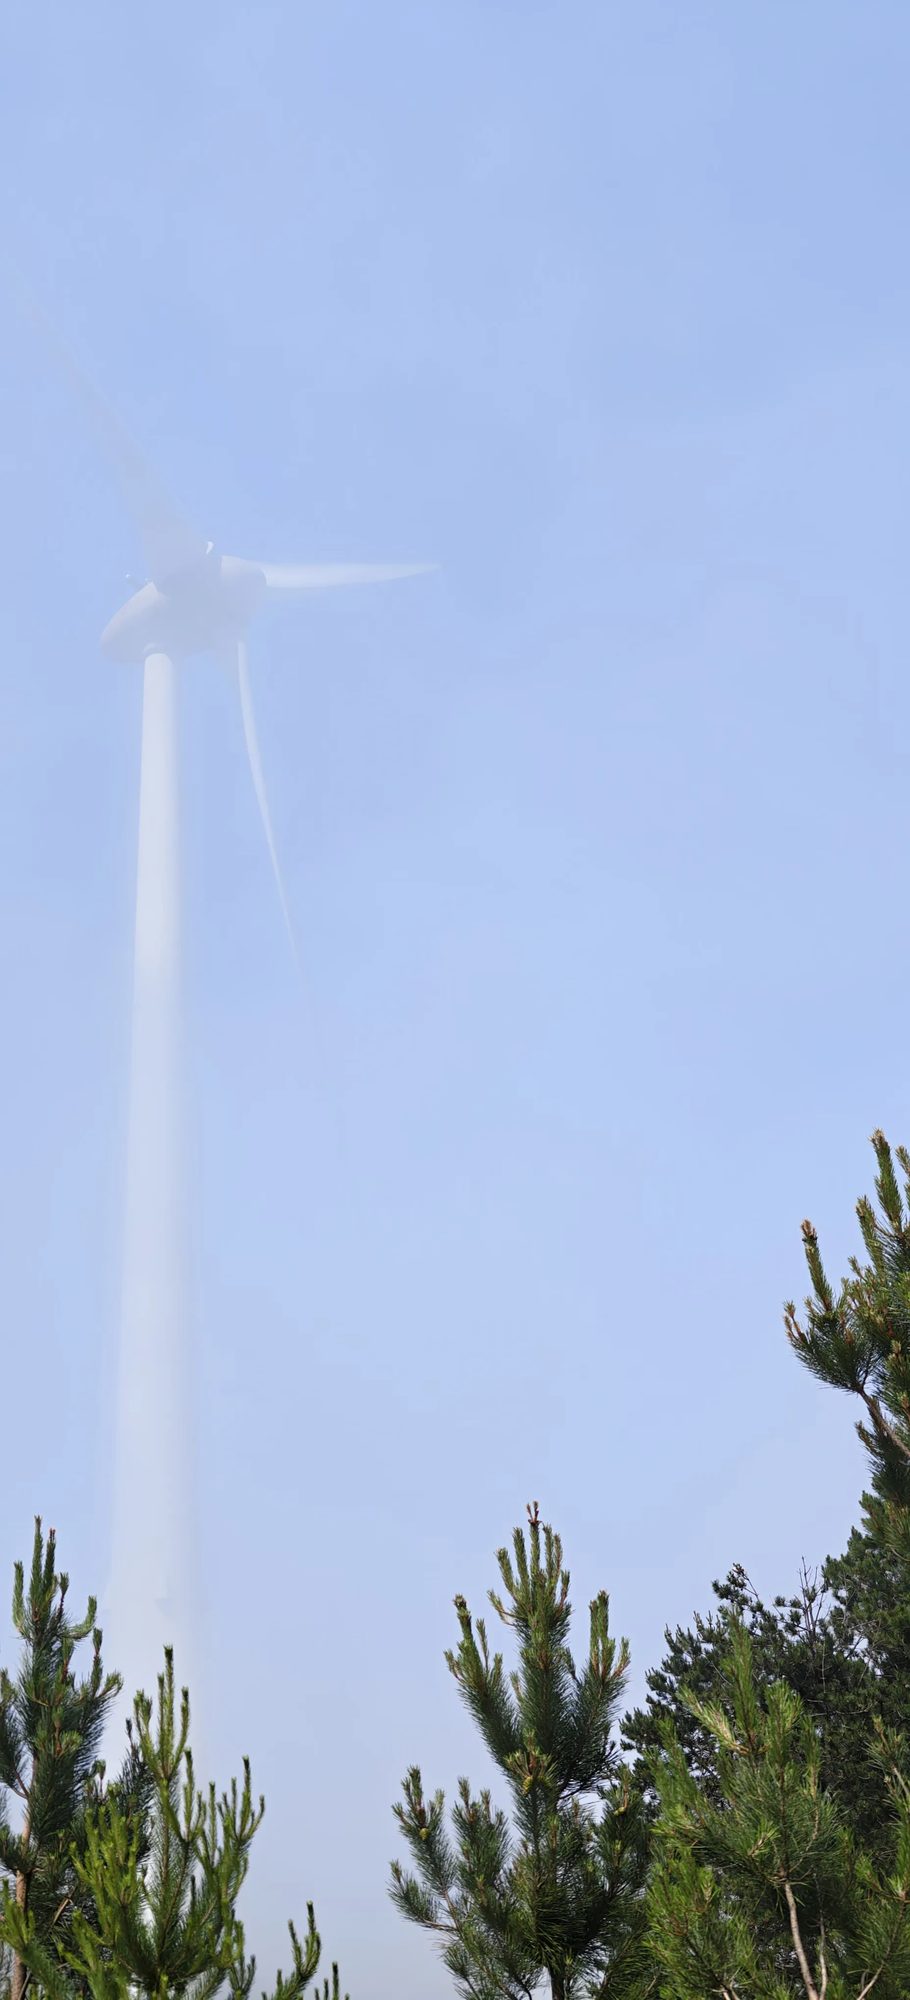
Statement. To photograph fog with a phone: raise the exposure slightly (+0.3 to +1), tap to focus on something close, line up layers from near to far, look for light shining through the fog, wipe the lens, keep the phone still and edit gently. Fog is a low-pass filter; your job is to give it something to filter.
In our post about fog we proved that fog is a cloud touching the ground. This is the practical sequel: how to photograph one with the phone in your pocket, based on what worked, and what didn’t, in the Serra da Lousã.
Lemma 1: raise the exposure
Phone light meters try to make every scene average out to middle grey. Fog is bright, so the phone darkens it into a dull, dirty grey. Tap the screen, then drag the exposure slider up a little, between +0.3 and +1, until the fog looks white but the brightest areas still hold detail.
Lemma 2: focus on something close
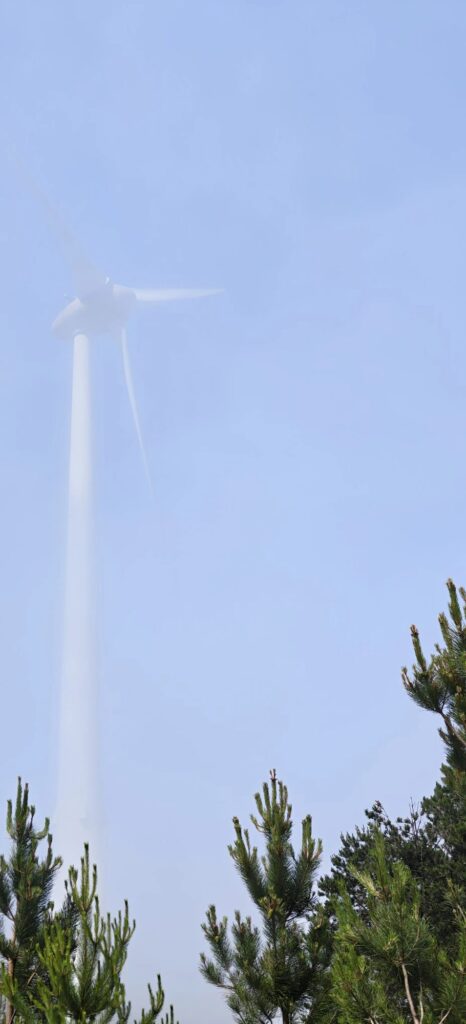
Autofocus needs contrast, and fog removes it. Tap on a nearby subject with clear edges: a branch, a fern, a fence post. The camera gets something to lock on to, and the viewer gets something to hold on to.
Lemma 3: build layers
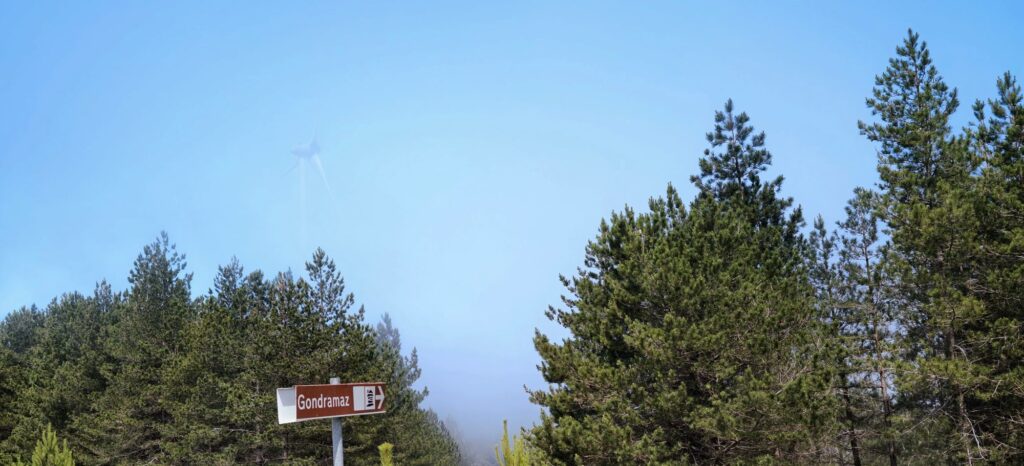
In fog, contrast decays exponentially with distance, so each plane looks paler than the one in front. Line up three or four planes, near, middle and far, and let the gradient do the work. That gradient is the photograph.
Lemma 4: look for light through the fog
When the sun sits behind thin fog or trees, the droplets scatter light sideways and make the beams visible, the same effect that shows a torch beam in a dusty room. Shoot towards the light, with something dark in front, and the rays appear on their own.
Lemma 5: wipe the lens
Fog is liquid water, and it condenses on a cold lens, especially when you step out of a warm car. Wipe it with a soft cloth before you shoot. And check that the haze in your picture is the weather, not the glass.
Lemma 6: don’t let the phone fight the fog
Phones try to rescue low-contrast scenes with HDR, sharpening and heavy noise reduction. In fog, that can smear fine detail into brushstrokes, especially if you or the leaves move. Hold still, brace your elbows, and if your phone has a RAW or “natural” mode, use it.
Lemma 7: edit gently
The “dehaze” slider removes exactly what you went out to capture. If anything, lower the contrast slightly, keep the whites clean and try a cooler white balance for a quieter mood. Fog photographs are about what you leave out.
Corollary: safety first
Never stop on the road to photograph fog. Pull over somewhere safe with the hazard lights on, or wait for a lay-by. Fog is patient: it will still be there. More fog, and the place where we found it, in Proof 004: Coentral das Barreiras.
Frequently asked questions
What are the best phone settings to photograph fog?
Raise the exposure slightly (+0.3 to +1), tap to focus on a nearby subject, keep the phone steady and use RAW or a natural mode if available.
Why do my fog photos look grey?
Phone meters aim for middle grey, and fog is bright, so the phone underexposes it. Raising the exposure a little makes the fog look white again.
How do I photograph light rays in fog?
Shoot towards the sun when it is behind thin fog or trees, with something dark in the foreground. The droplets scatter the light and make the beams visible.
Should I use the dehaze slider on fog photos?
Usually not. Dehaze removes the fog you wanted to capture. Gentle contrast and white balance adjustments work better.